(continued from Supplier Contacts)
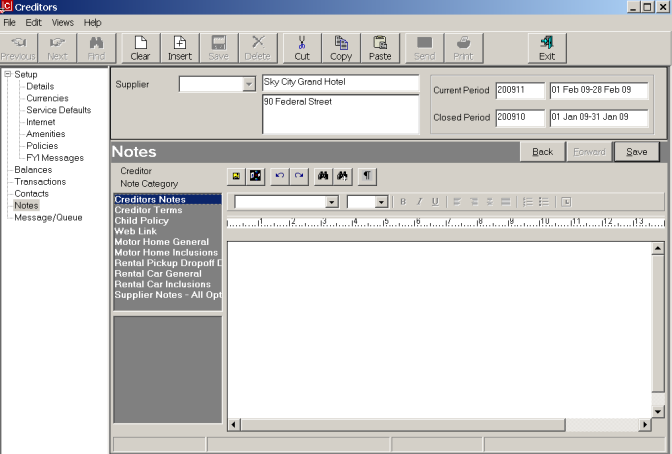
This screen enables free format notes (or graphics) to be entered against a supplier.
Prior to entering supplier notes, Supplier Note Categories or Database Supplier note categories must be set up in the CodeMaint module (see System Setup Training Guide).
Screen Shot 27: Supplier Notes Screen

In the above example there are several categories of notes:
|
Creditors Notes |
This is designed for in house general notes to be stored against the Supplier. Not able to be viewed in Booking. |
|
Creditor Terms |
This is a text note outlining the payment terms with the supplier. Not able to viewed in Bookings. |
|
Child Policy |
Text note describing child policy. Able to be viewed in bookings. |
|
Motor Home/Rental |
Specifically for those types of services. Able to be viewed in Bookings. |
|
Supplier Note – All Opt |
Note category designed for general supplier description. Able to be viewed in Bookings. |
All of the above notes are able to be viewed in Creditors/Suppliers, and those noted as being able to viewed in bookings have been defined in CodeMaint as ‘Database Supplier Notes’. This means they are available to view in Bookings, Database and Creditors. A note category which is defined as a ‘Database Supplier Note’ will attach to all service options which are created for the supplier.
If a note category displays that is not applicable to the supplier, leave the note blank.
To enter a note first highlight the required note category from the list then click in Tourplan Editor at the bottom of the screen and type a note. An alternative is to copy/paste information from the suppliers website and edit it accordingly.
A Database Supplier Note type can also be created/edited in the Service Options database, and any changes/additions will display in creditors.
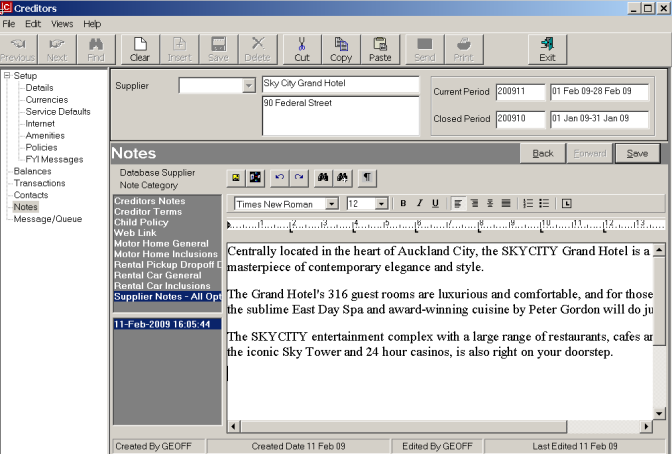
Screen Shot 28: Example Completed Notes

To save a note click on the Save button in the Button Bar.
Note 1:Once the note has been saved, the following details are recorded against that note and displayed at the bottom of the screen:
Save
To finish setting up the supplier, click the ‘Save’ button on the ‘Supplier Contacts’ bar. This will display the Details Screen. The setup of the supplier is now complete.
Back
If any item on previous screens needs correcting, use the ‘Back’ button on the Wizard bar.